Hello, my friend! Have you ever wondered how hard is it to draw a scrunchie, especially those wavy lines, and shadows made you crazy, right? I so get you!
Today I am going to make a scrunchie drawing! We will need a paper of any size (to begin with use a small one like A5 (8.3×5.8 inches)), and you will need a pencil.
The best way to draw it is to have your own scrunchie next to you, if you don’t have one- never give up, use your imagination. You are ready if you have a sharp pencil and a piece of paper. Let’s do it!
How I Draw a Perfect Scrunchie? – Step by Step
You see a scrunchie, do you see wavy lines on it? To draw these beautiful lines on paper, first, you need a wavy circle.
To properly craft a scrunchie, you need to draw two circles, a big one as an outside circle and a small one as an inside circle.
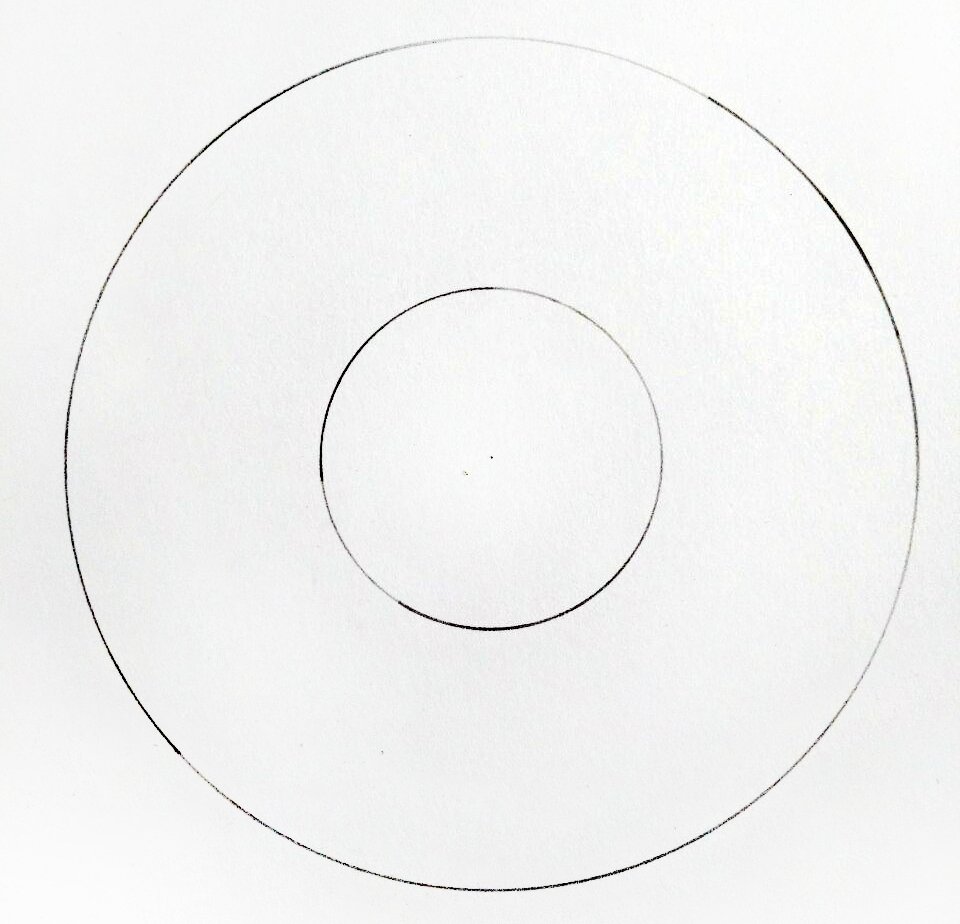
Now you got two circles, one inside another. If it doesn’t work for you do it this way. Use dividers to make two circles, a small one and a big one. Take a pencil and draw curvy lines on the circle & circle’s path, it should have a drawing like this.

At this stage, you have a shape. The next step is to make small shadows.
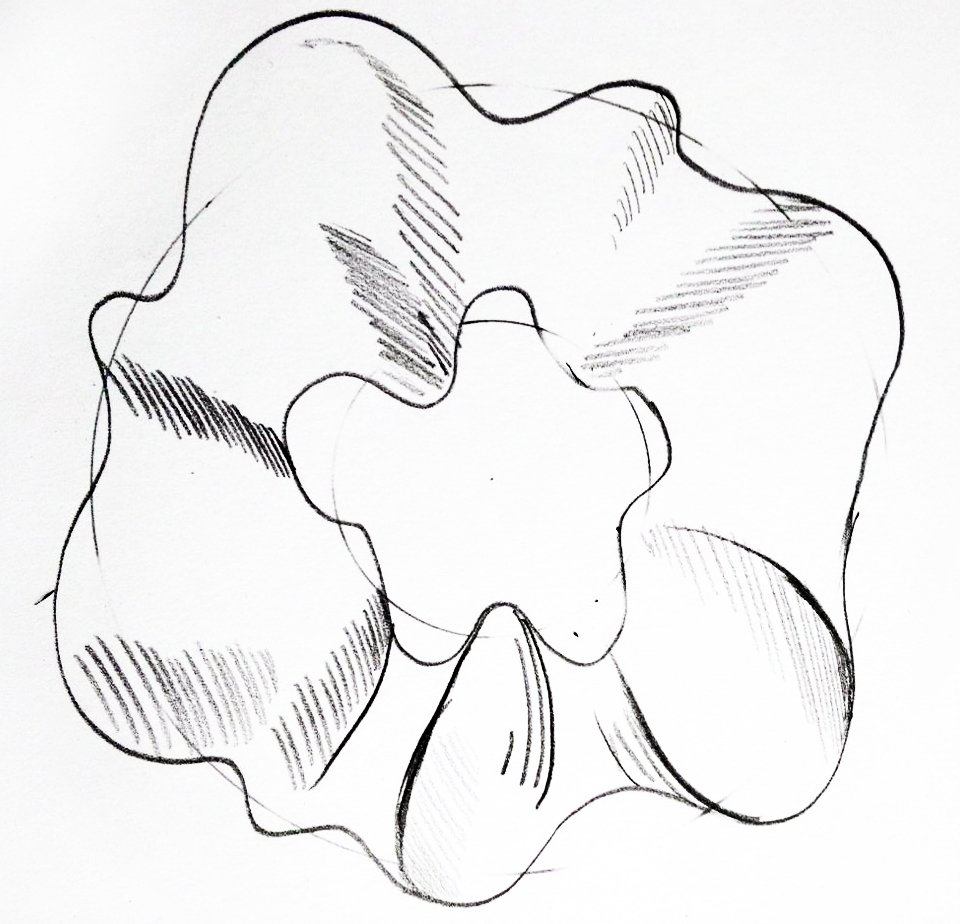
Look at the scrunchie. Again, see how many shadows it has. These deep lines – they constitute to the 3d form of the art, so draw them slowly. Remember not to rush, as all shadows can be the same VAD frame from each other.
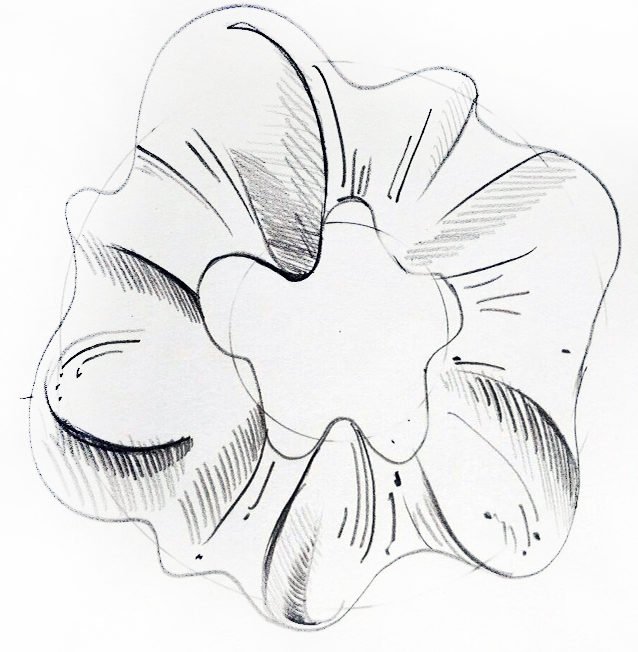
When you are done with the shadows, it’s time to draw details and add more lines! Use them near shadows to reach the inside of a scrunchie, then draw some small lines to add texture to it, make them darker and lighter using the pressure of your hand on the paper.
Draw some black/dark lines and dots to force the feeling of a real scrunchie. The last step is to draw a dark background shadow. This step is much easier if you are redrawing a real one, as all you need to do is to just have a look at it. Contrary, if you are imagining the scrunchie, you need to properly think/guess where the background shadow will be, and thus draw accordingly.
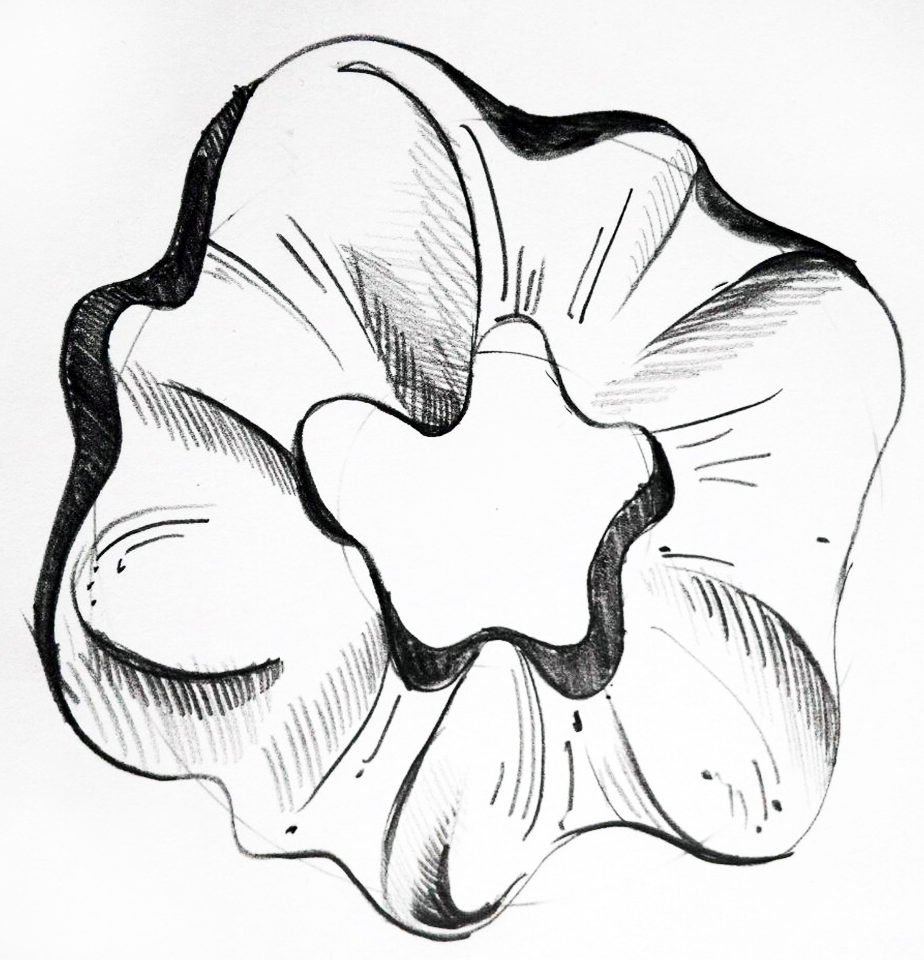
So let’s do it from the left side. You see a curved line from the left (the side of scrunchie), take a little step of it, let’s say 5mm and draw the exact same line near to it. Don’t forget to end it at the bottom of your design. Do the same from the inside part, but remember to do it from the right. Finally make the shadow visible, let’s say 8mm to express the depth.
Now Look at your design. It’s done!
Scrunchie Top View Drawing: (I Suggest this for Beginners)

There is another way to draw a scrunchie.. i.e from the top view. It’s very simple and easy to follow. The thing is you need to draw a sun with dots. Let me explain more.
Draw a straight vertical line and put a small dot on top of the line. Draw the next line on a 5-degree angle (no matter what direction you choose) and put a dot at the bottom. Repeat this step till you get the full circle – the sun, consisting of lines along with dots.
Hmm… Doesn’t it look like a scrunchie? Not a big deal. Here is where the magic happens. Let’s make it beautiful.

Now use your pencil to connect the inner dots (with each other) by making half circles. Do the exact same thing with the outer dots too. Done!
See how fast you can draw it? It took you less than 5 minutes. Cool, right?
Want to customize it? That is simple. Draw a nice sphere and color it with a colored pencil or draw a bow on top to have a nicer design!
Scrunchie on a Wrist Drawing

When you are a PRO on drawing scrunchie, then you can become a master.
The next one is drawing a wrist with a scrunchie and, as usual, put a scrunchie on hand, as every girl does that. So the most challenging part here is understanding how to draw a hand. That is not simple and, at the same time, not a hard thing too.
Draw two roughly parallel lines (keeping in mind that your arm is bigger to the elbow), then a nice 5 finger hand. As you notice, you don’t need a full piece, you need a ¾ of hand. The drawing will be almost the same, but you shouldn’t forget about a perspective. Perspective is very important in every drawing, no matter what angle you use to make the art piece.
It would be super cool if you put your scrunchie on a hand and draw what you see. If not, just remember a couple of suggestions. As you already have a drawing depicting a hand, start somewhere in the middle, but do not cross the arm lines. First, draw an inside curve line, then an outside one. Add some details, which you already have read in this blog post. That’s it. The drawing of scrunchie on a wrist/arm is ready. Enjoy!
Scrunchie in Hair Drawing: (I Suggest this for Pros)
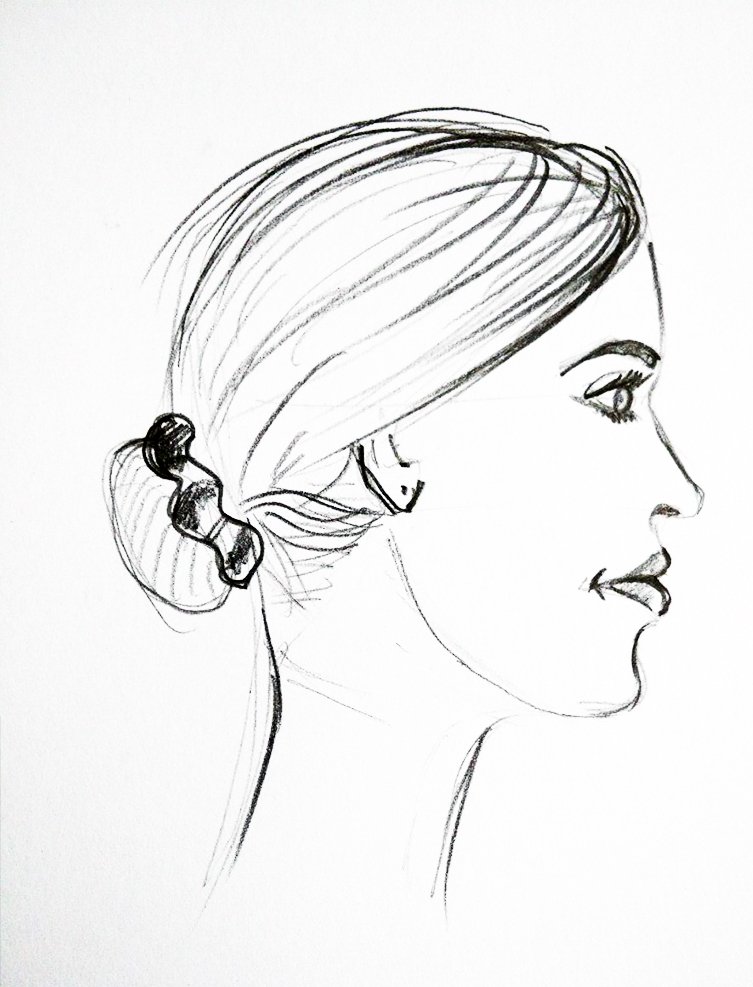
Next is drawing a Scrunchie in hair. The best, and at the same time, the most difficult way to draw – is face profile.
Starting with the most difficult part – face drawing. The forehead comes first, then the nose, lips, chin, and the neck. Don’t forget to draw an eye, and mostly it will look like a triangle. On the other hand, drawing hair is much simpler. All you need to do is draw a bunch on the head.
Think you need to draw more than 10 scrunchie drawings today, so it will be easy to draw the 11th one. Do not rush and be confident. This is the last part.
Ready- set- go! You are done. Now you are a master on drawing scrunchies.
Kathrine Vasilenko is a professional CG artist, Watercolor painter, and illustrator who lives in Belarus. She completed her Diploma of Fine Arts at a college in Belarus in 2012 and is currently working as a CG artist at Azago Visualization LTD. Kathrine has a range of experience in pencil drawings & vector illustrations and her work has been featured on various top sites like bridesmagazine.co.uk, studiosirio, and a few others. She also has a great passion for sketching, drawings, and watercolor arts. Kathrine Vasilenko is an experienced creative artist and loves writing design-specialized articles.
